 HOWTO write a C-based module for CircuitPython
HOWTO write a C-based module for CircuitPython
HOWTO write a C-based module for CircuitPython
UPDATE: the CircuitPython project has accepted the pull request of the PS/2 interfacing class described in this article. The Ps2 class was moved to its own top-level module named ps2io, and method names were changed accordingly to reviewers' requests.
CircuitPyhon is a version of Python 3 which runs in a range of Arduino-style microcontroller boards. It is actually based on MicroPython, and it is maintained by AdaFruit Industries. As one would expect, it is mostly compatible with boards sold by Adafruit. The maturity of CircuitPython and the availability of boards in many shapes and sizes makes this tech package very attractive.
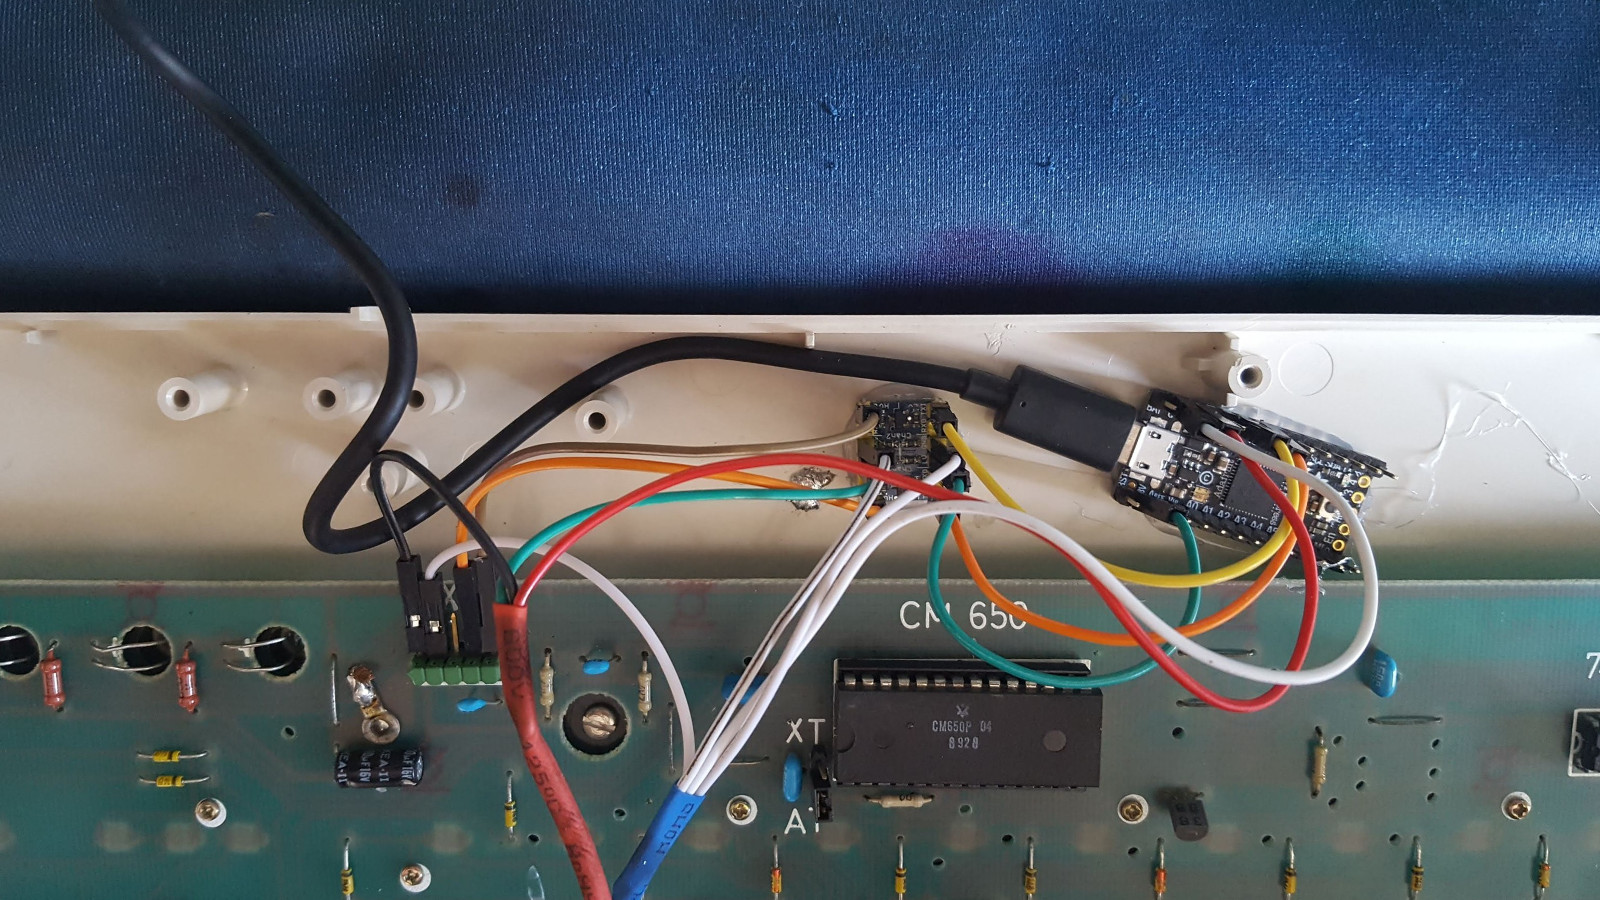
As you may have noted, I'm into keyboards. I wanted to hook a PS/2 keyboard to a CircuitPython board; the objective is to write a PS/2-to-USB converted in Python. The PS/2 wire protocol is similar to UART, though the wires are Data and Clock instead of TX and RX. The accepted baud rate is a range, not a hard number. Some implementations do use UART pins, but a reliable, bidirectional implementation must resort to "bitbang".
C code is fast enough to bitbang PS/2 in 8-bit microcontrollers, even though using interrupts to detect clock transitions is best, freeing the controller to do other tasks. Bitbanging in CircuitPython is basically impossible since it is not fast enough to find clock transitions at 20kbps speed (yes, I've tried). So we need to write a C-based CircuitPython module, and try to use interrupt-based clocking.
One issue of CircuitPython is, it can't load an external binary module. Every binary module must be baked into the interpreter. (Since microcontrollers run code from ROM, I guess this won't change in the near future.) In order to add your module, you need to build the whole interpreter and flash the board.
The first step is to get used to build CircuitPython. Adafruit wrote this excellent guide on how to install the toolchain, build and flash the interpreter.
Once these steps are familiar, you can read this other guide, but this is a Hello World-style module. My strategy was to follow the trail of an existing module: pulseio.PulseIn since it does bitbanging and uses interrupts (some people even used this module to communicate with PS/2 keyboards in a kludgey way).
It would be tiresome to describe every line of my module. Let the code speak by itself: the commit is here for you to look into. I will just describe the highlights. A new module has two major parts:
Then there are some additional details, that your module may need or not, depending on the nature of the task:
Implementing the PS/2 protocol is a very nice way to learn about bitbanging and interrupts. Devices are dirt cheap, the protocol is tolerant to small timing errors, and the low speed allows for some degree of hardware debugging without an osciloscope.
There are countless texts like this one describing how it works. In case you find some aspect of the specification confusing, there are many high-quality implementations to compare "how the experts do". I consulted a lot with the TMK project for AVR.
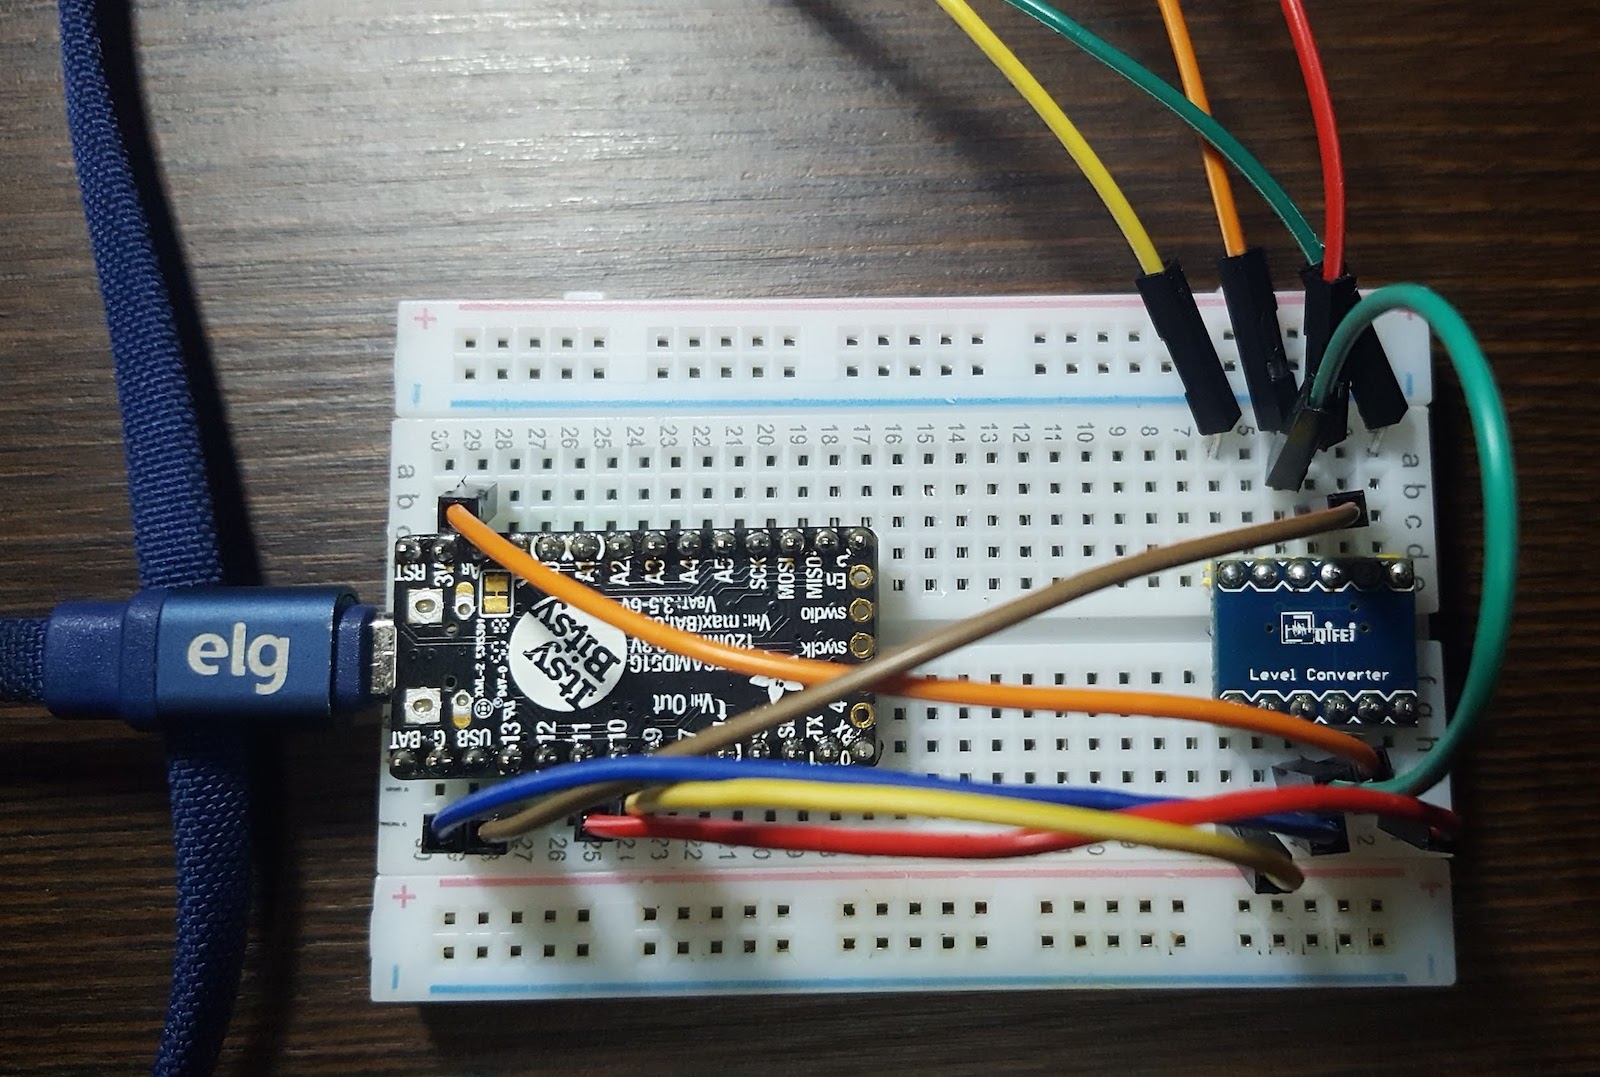
Most CircuitPython boards are 3.3V; PS/2 devices are 5V. Data and Clock lines must go through bidirectional level converters. On the other hand, the bidirectional converter supplies the necessary pull-up resistors. (Recommended value is 1kΩ, the converter's pull-up is 10kΩ, but seems to work well anyway.)
The Ps2 module shown in this HOWTO is just the rock-bottom layer of the PS/2 protocol. There are upper layers for each device type (keyboard, mouse, etc.) The good news is, the upper layers can be coded in Python.
In case you are curious, this is my implementation of PS/2 keyboard for KMK, again based on TMK project's PS/2-to-USB converter. Since the rest of KMK (or TMK) expects to deal with a "real" keyboard matrix, we simulate a 32x8 matrix, flipping bits as PS/2 keys are pressed and released.
Then we build a rather sparse keymap translating the matrix bits into HID keys, and voilà! we have a Python-based PS/2-to-USB converter.